
 1544
1544
Create and Apply Scenes in GoGuardian Teacher
Scenes allows teachers access to custom web-filtering rules during their GoGuardian Teacher class sessions. They can be used to block distracting and inappropriate websites or limit students to the websites they need for class. Scenes can also be used to automatically open select websites and limit students to a maximum number of open tabs at any time.
The following video demonstrates how to use and apply Scenes to help with classroom management.
Create Scene
-
Go to an active GoGuardian Teacher session or your classroom dashboard.
-
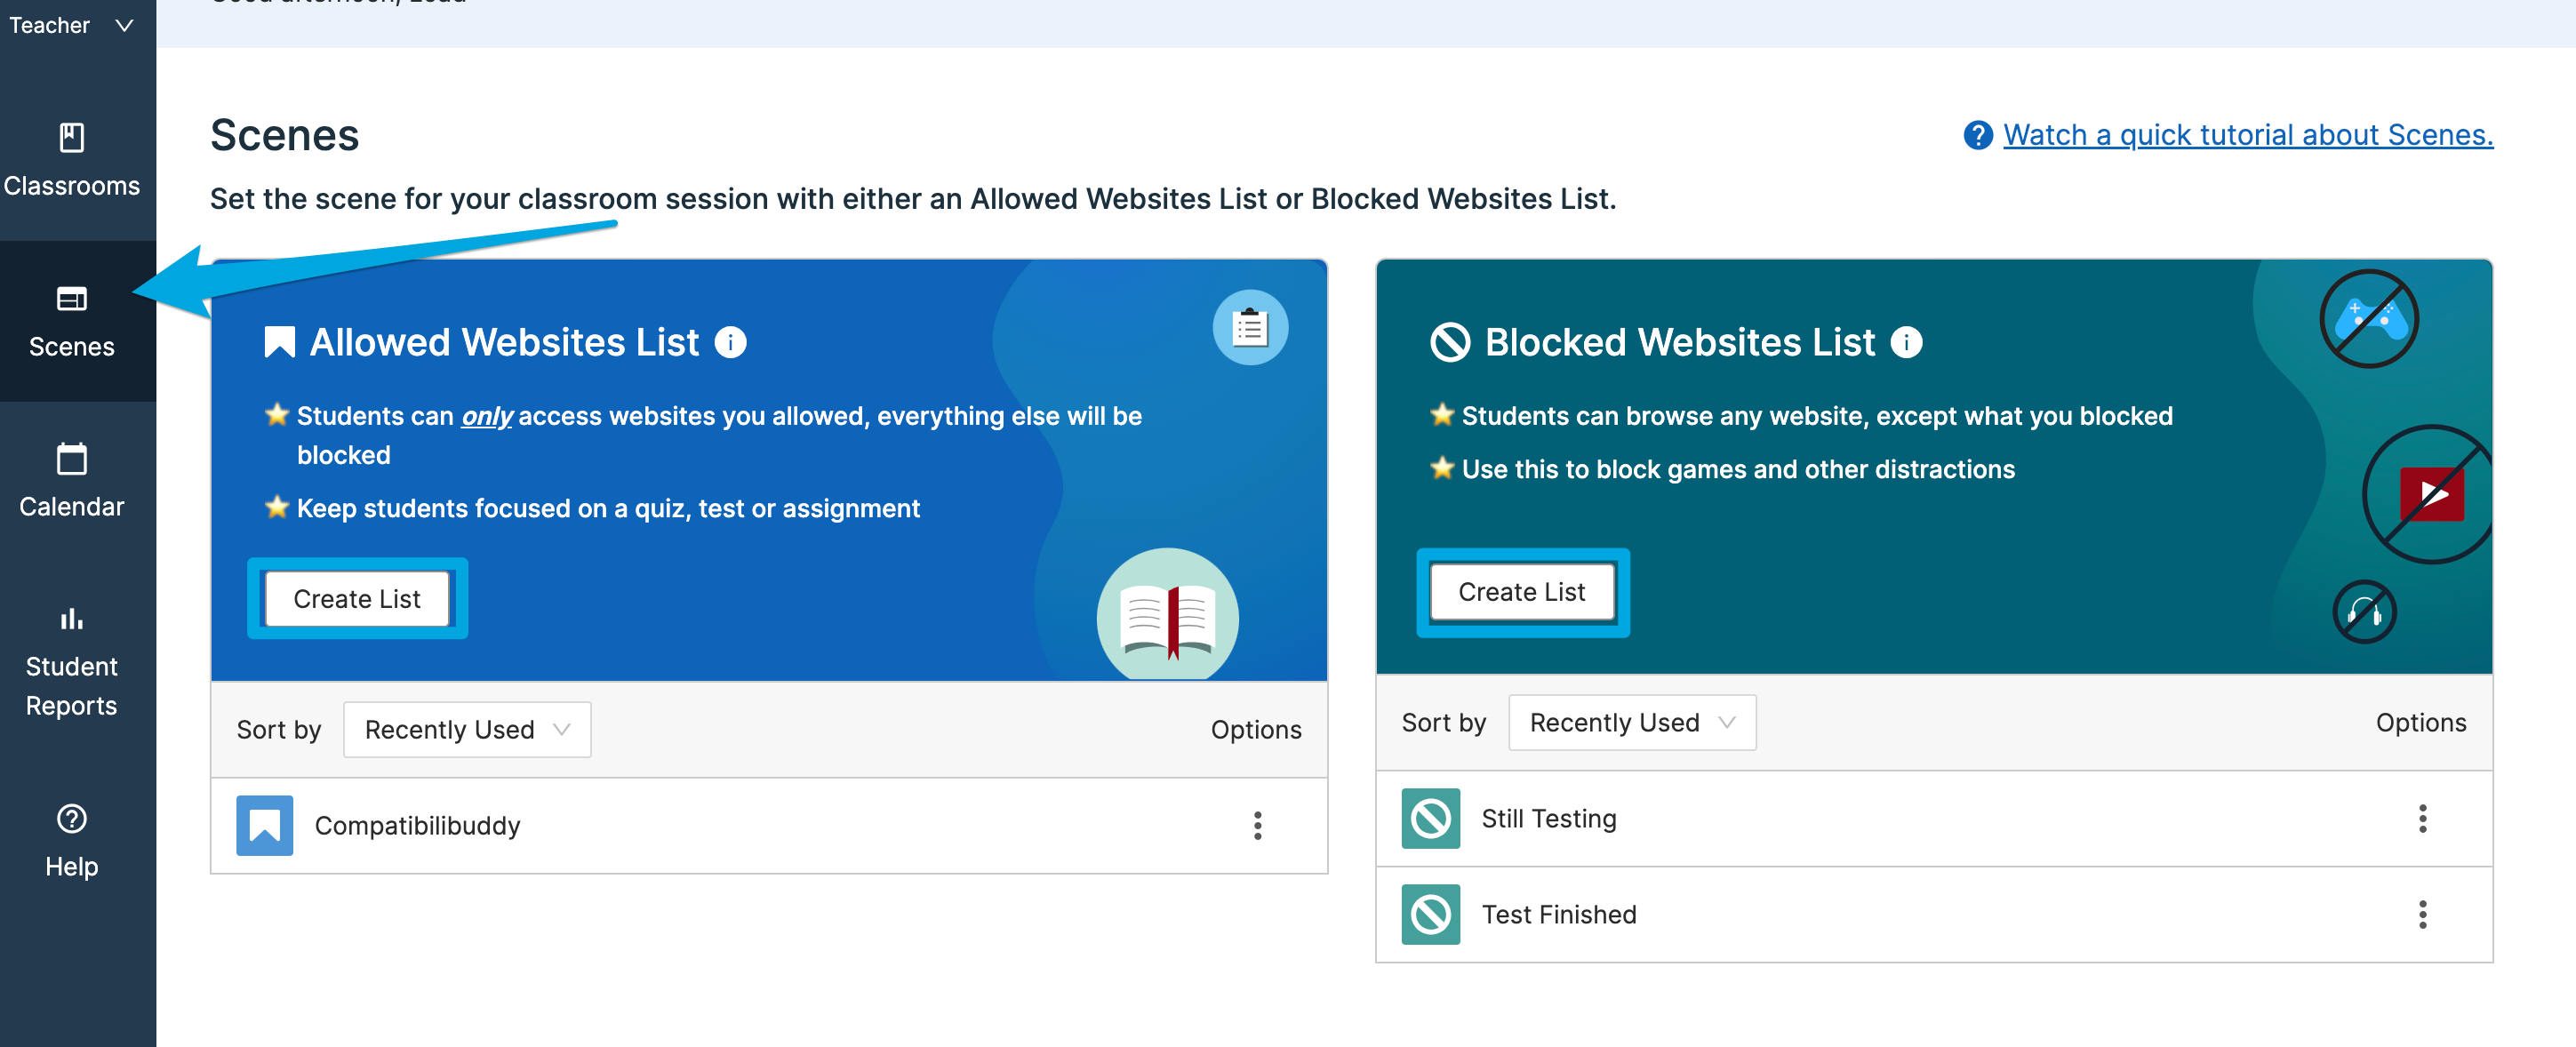
Click the Scenes tab in the left navigation menu.
-
Click Create List under either the Allowed Websites List or the Blocked Websites List section.
-
Choose Allowed Websites List to block all sites except those you specify.
-
Choose Blocked Websites List to allow all sites except those you specify.
-
-
Enter a name for your Scene in the text field.
-
Choose an optional color and description to help you identify the Scene later.
-
Click Next.
-
Enter a website URL or individual webpage in the search field.
-
Click Search.
-
Click Add next to the specific resource you want to include in your list.
-
Save your Scene.
Manage Scene
-
Click the Scenes tab to view your saved lists.
-
Click the 3-dot menu icon in the row of the Scene you want to manage.
-
Choose from the following options:
-
Set as Default: Automatically apply the Scene to a specific class
-
Edit: Change the block or allow rules
-
Share: Send your Scene to another teacher. Please note that only the original Scene owner can edit the Scene
-
Rename: Update the Scene name
-
Make a Copy: Create a duplicate Scene you can modify
-
Delete: Remove the Scene permanently
-

Apply Scene to Session
Set Default Scene in Classroom Actions
-
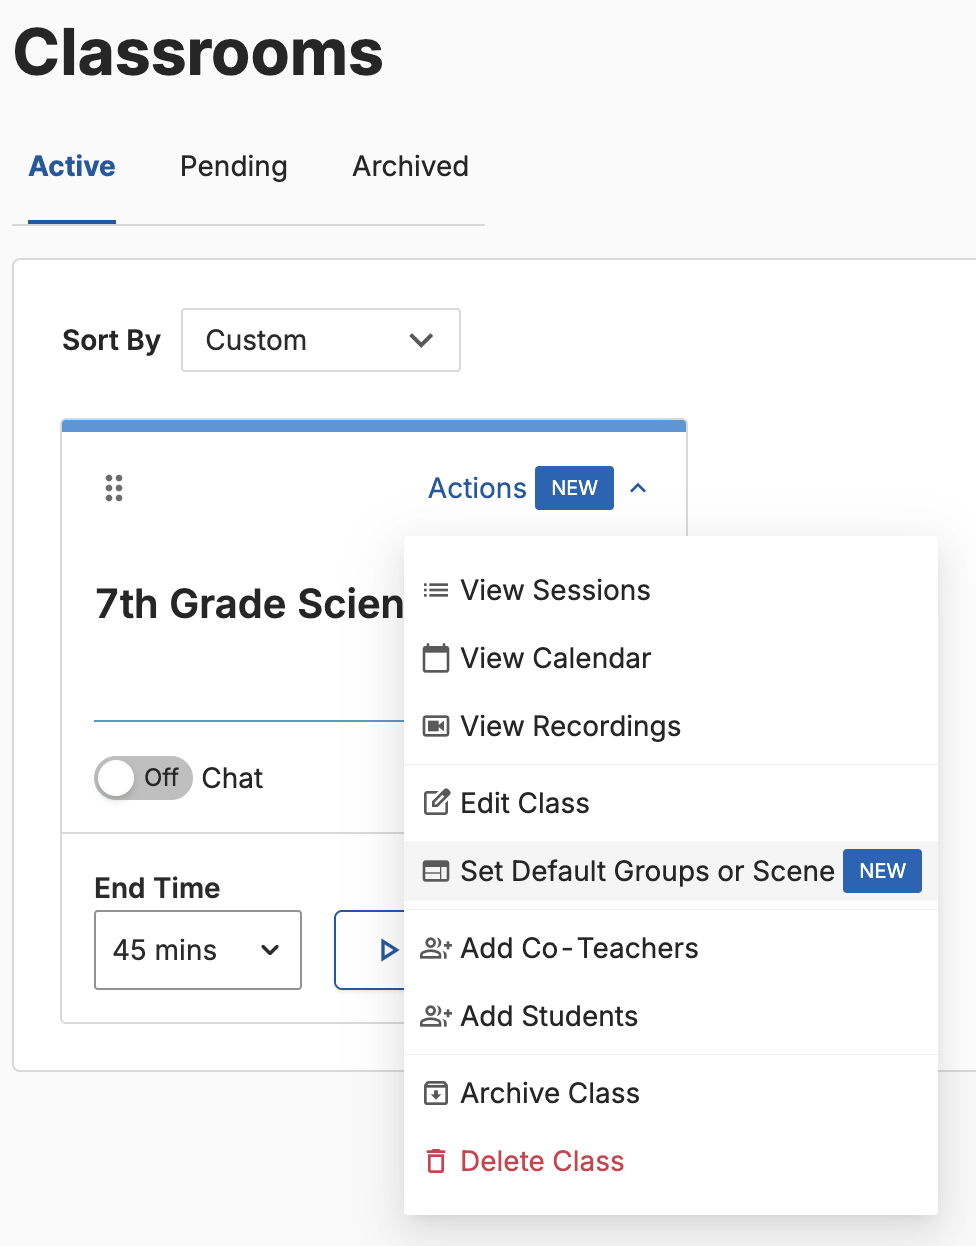
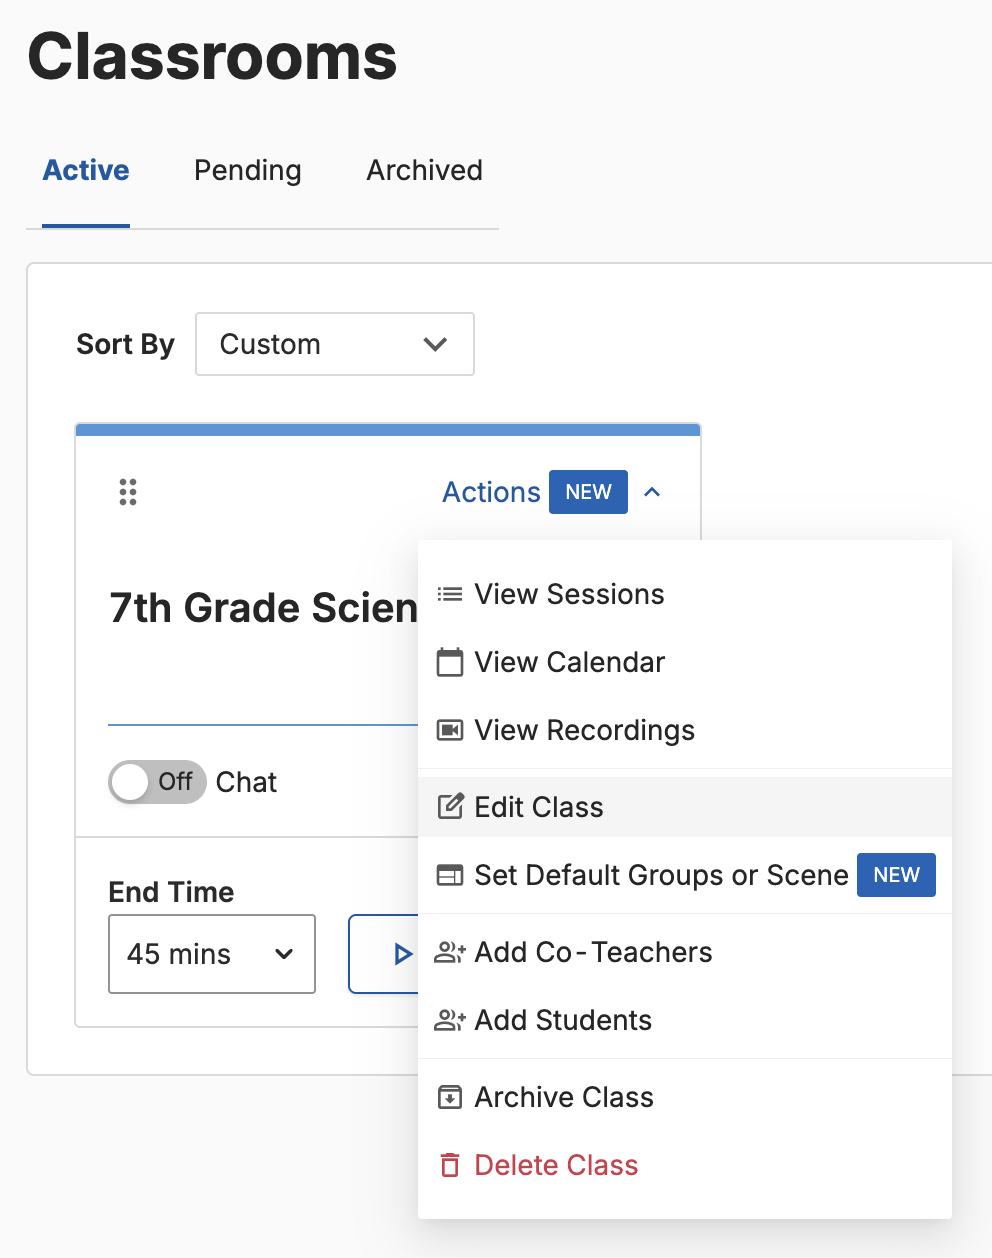
Go to the Classrooms tab.
-
Click Actions for the classroom.
-
Click Set Default Groups or Scene.
-
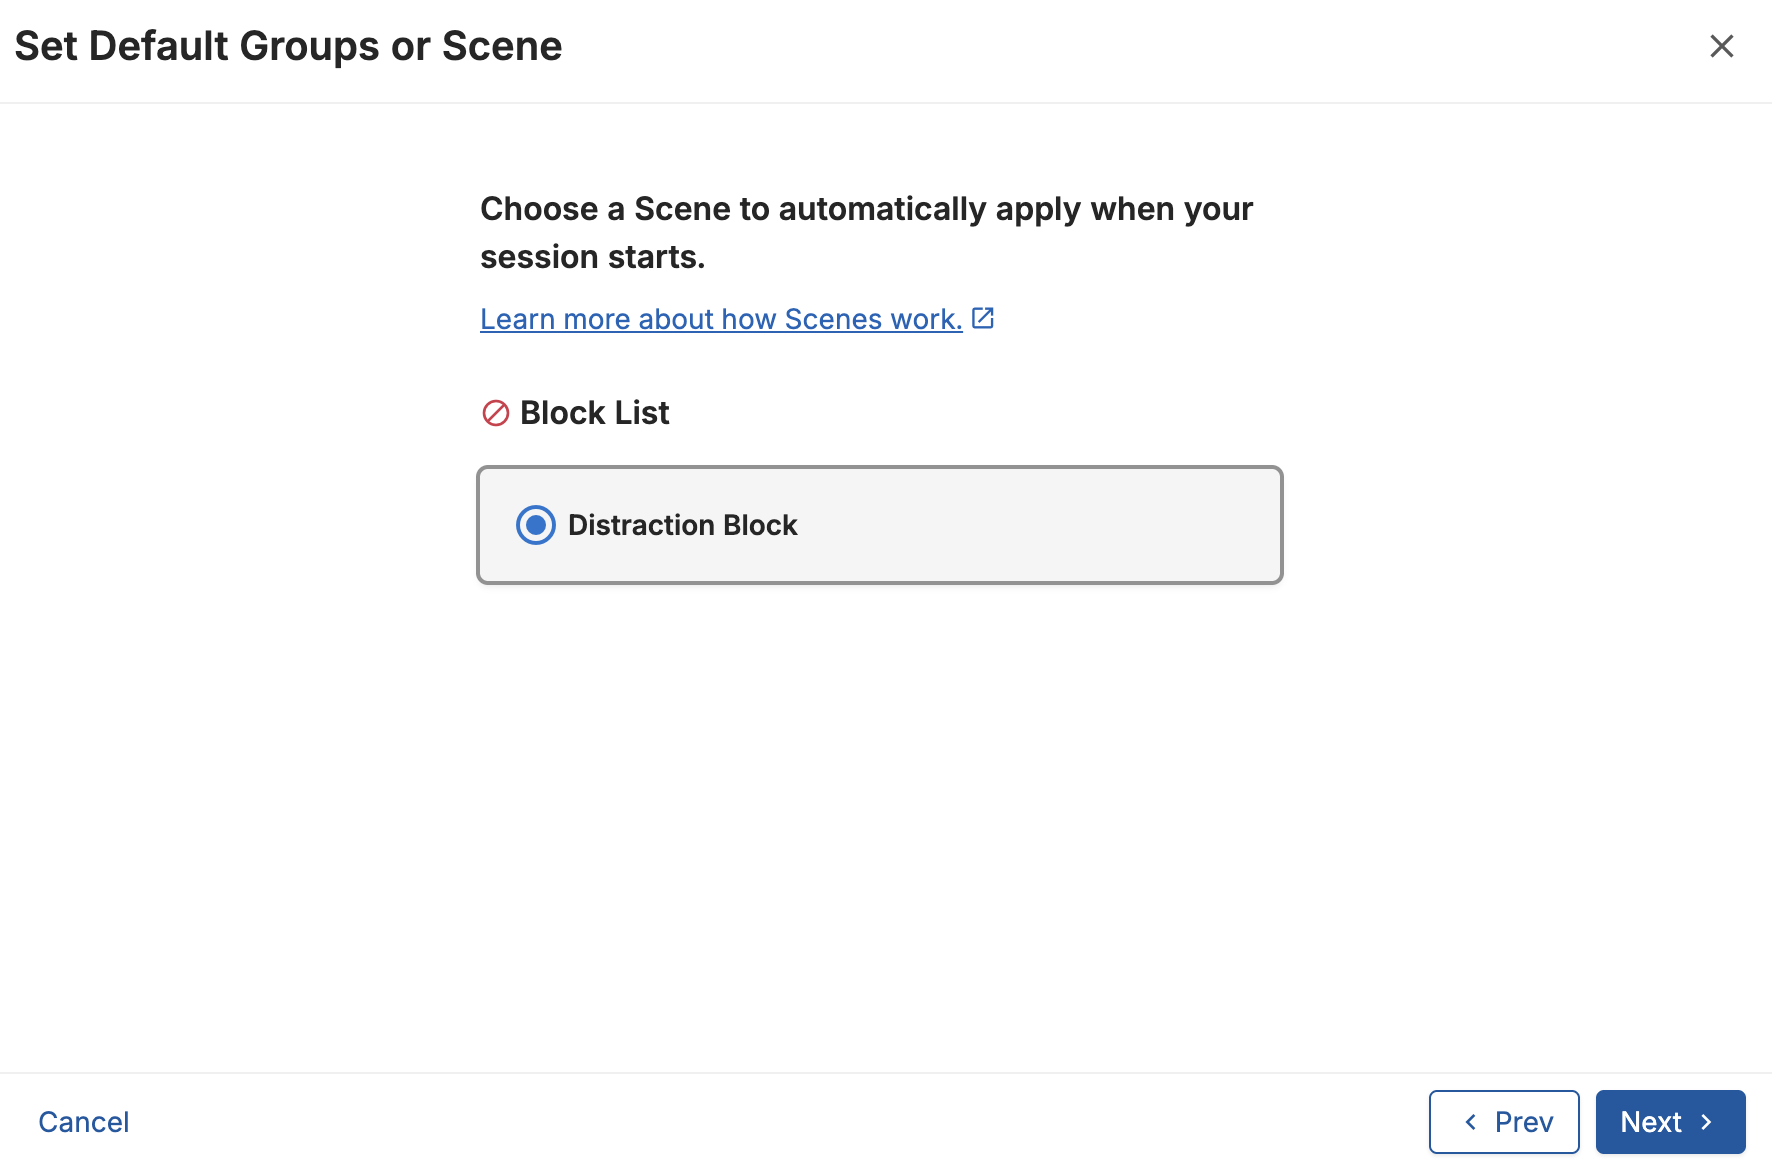
Click Scene > Next.
-
Select a Scene > Next.
-
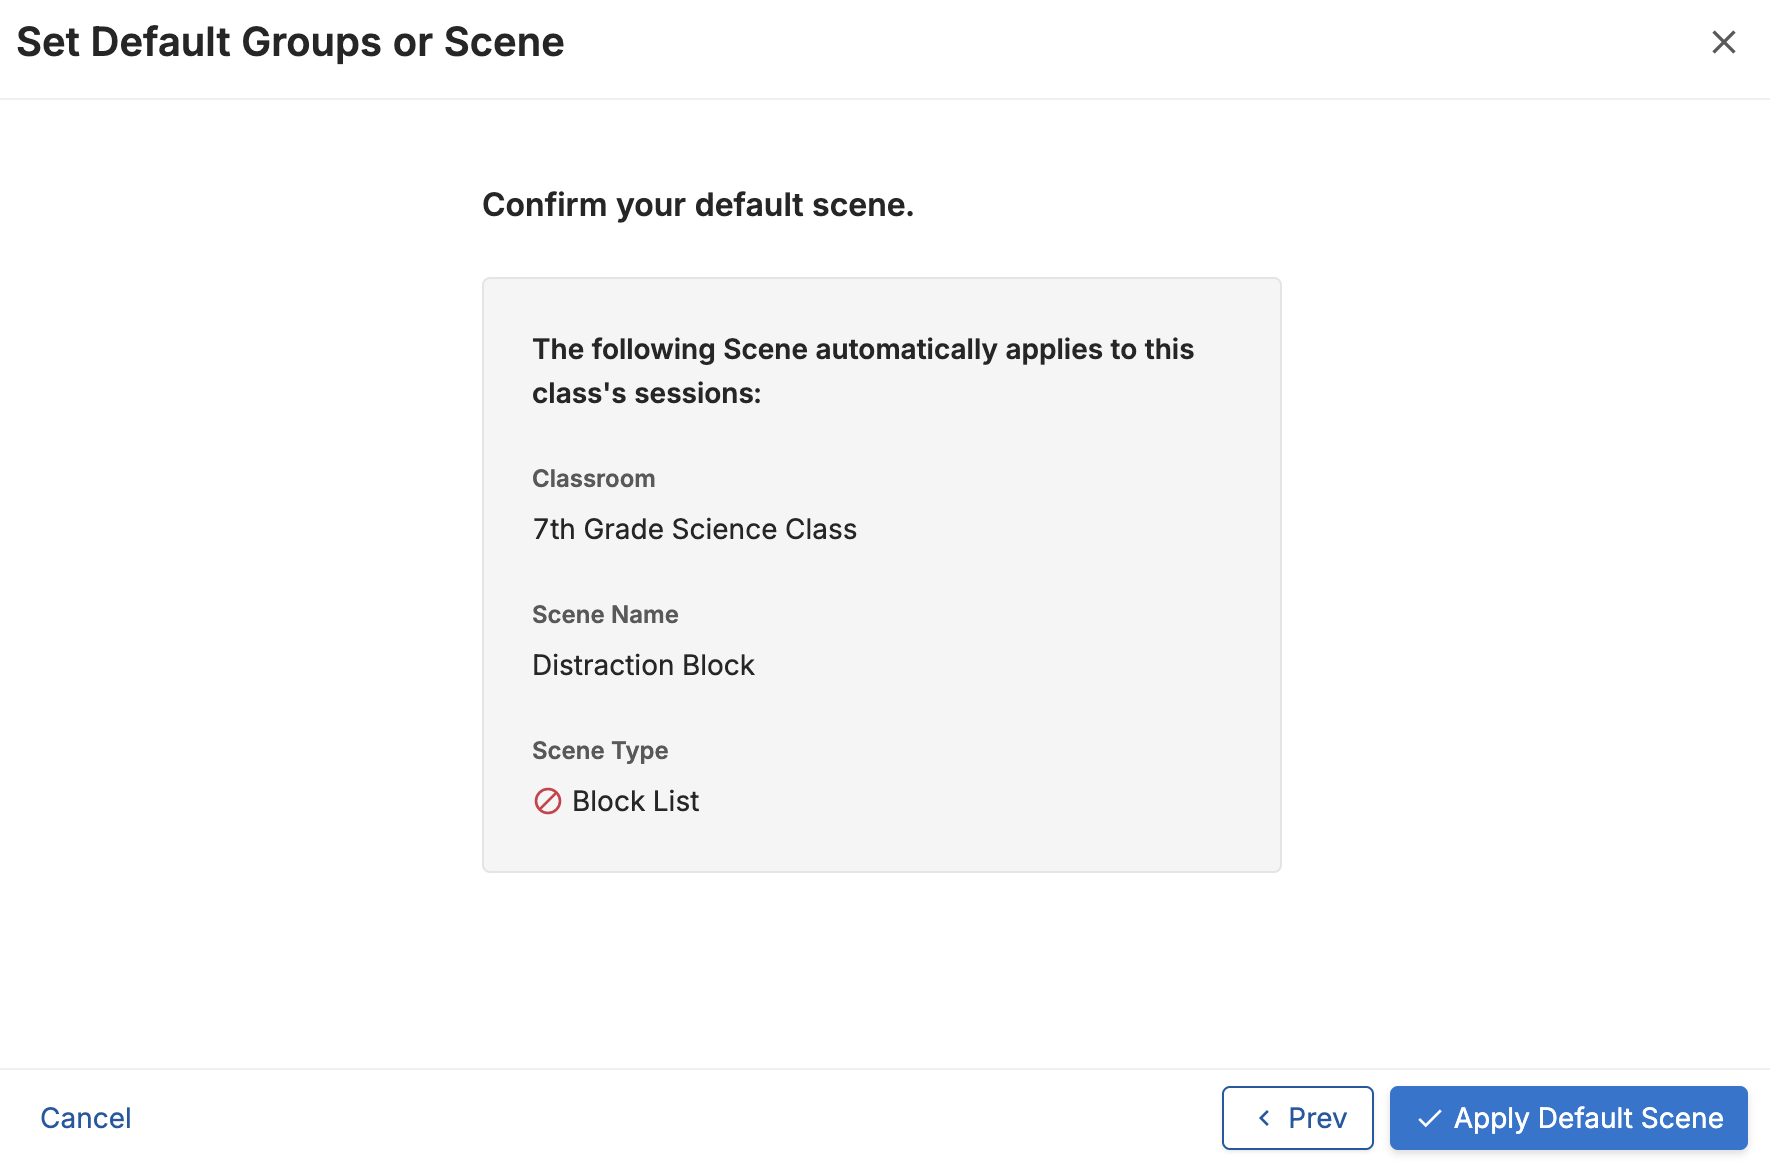
Click Apply Default Scene.

Set Default Scene in Classroom Settings
-
Go to the Classrooms tab.
-
Find the class where you want to apply a Scene automatically.
-
Click the Settings gear icon.
-
Click Edit.
-
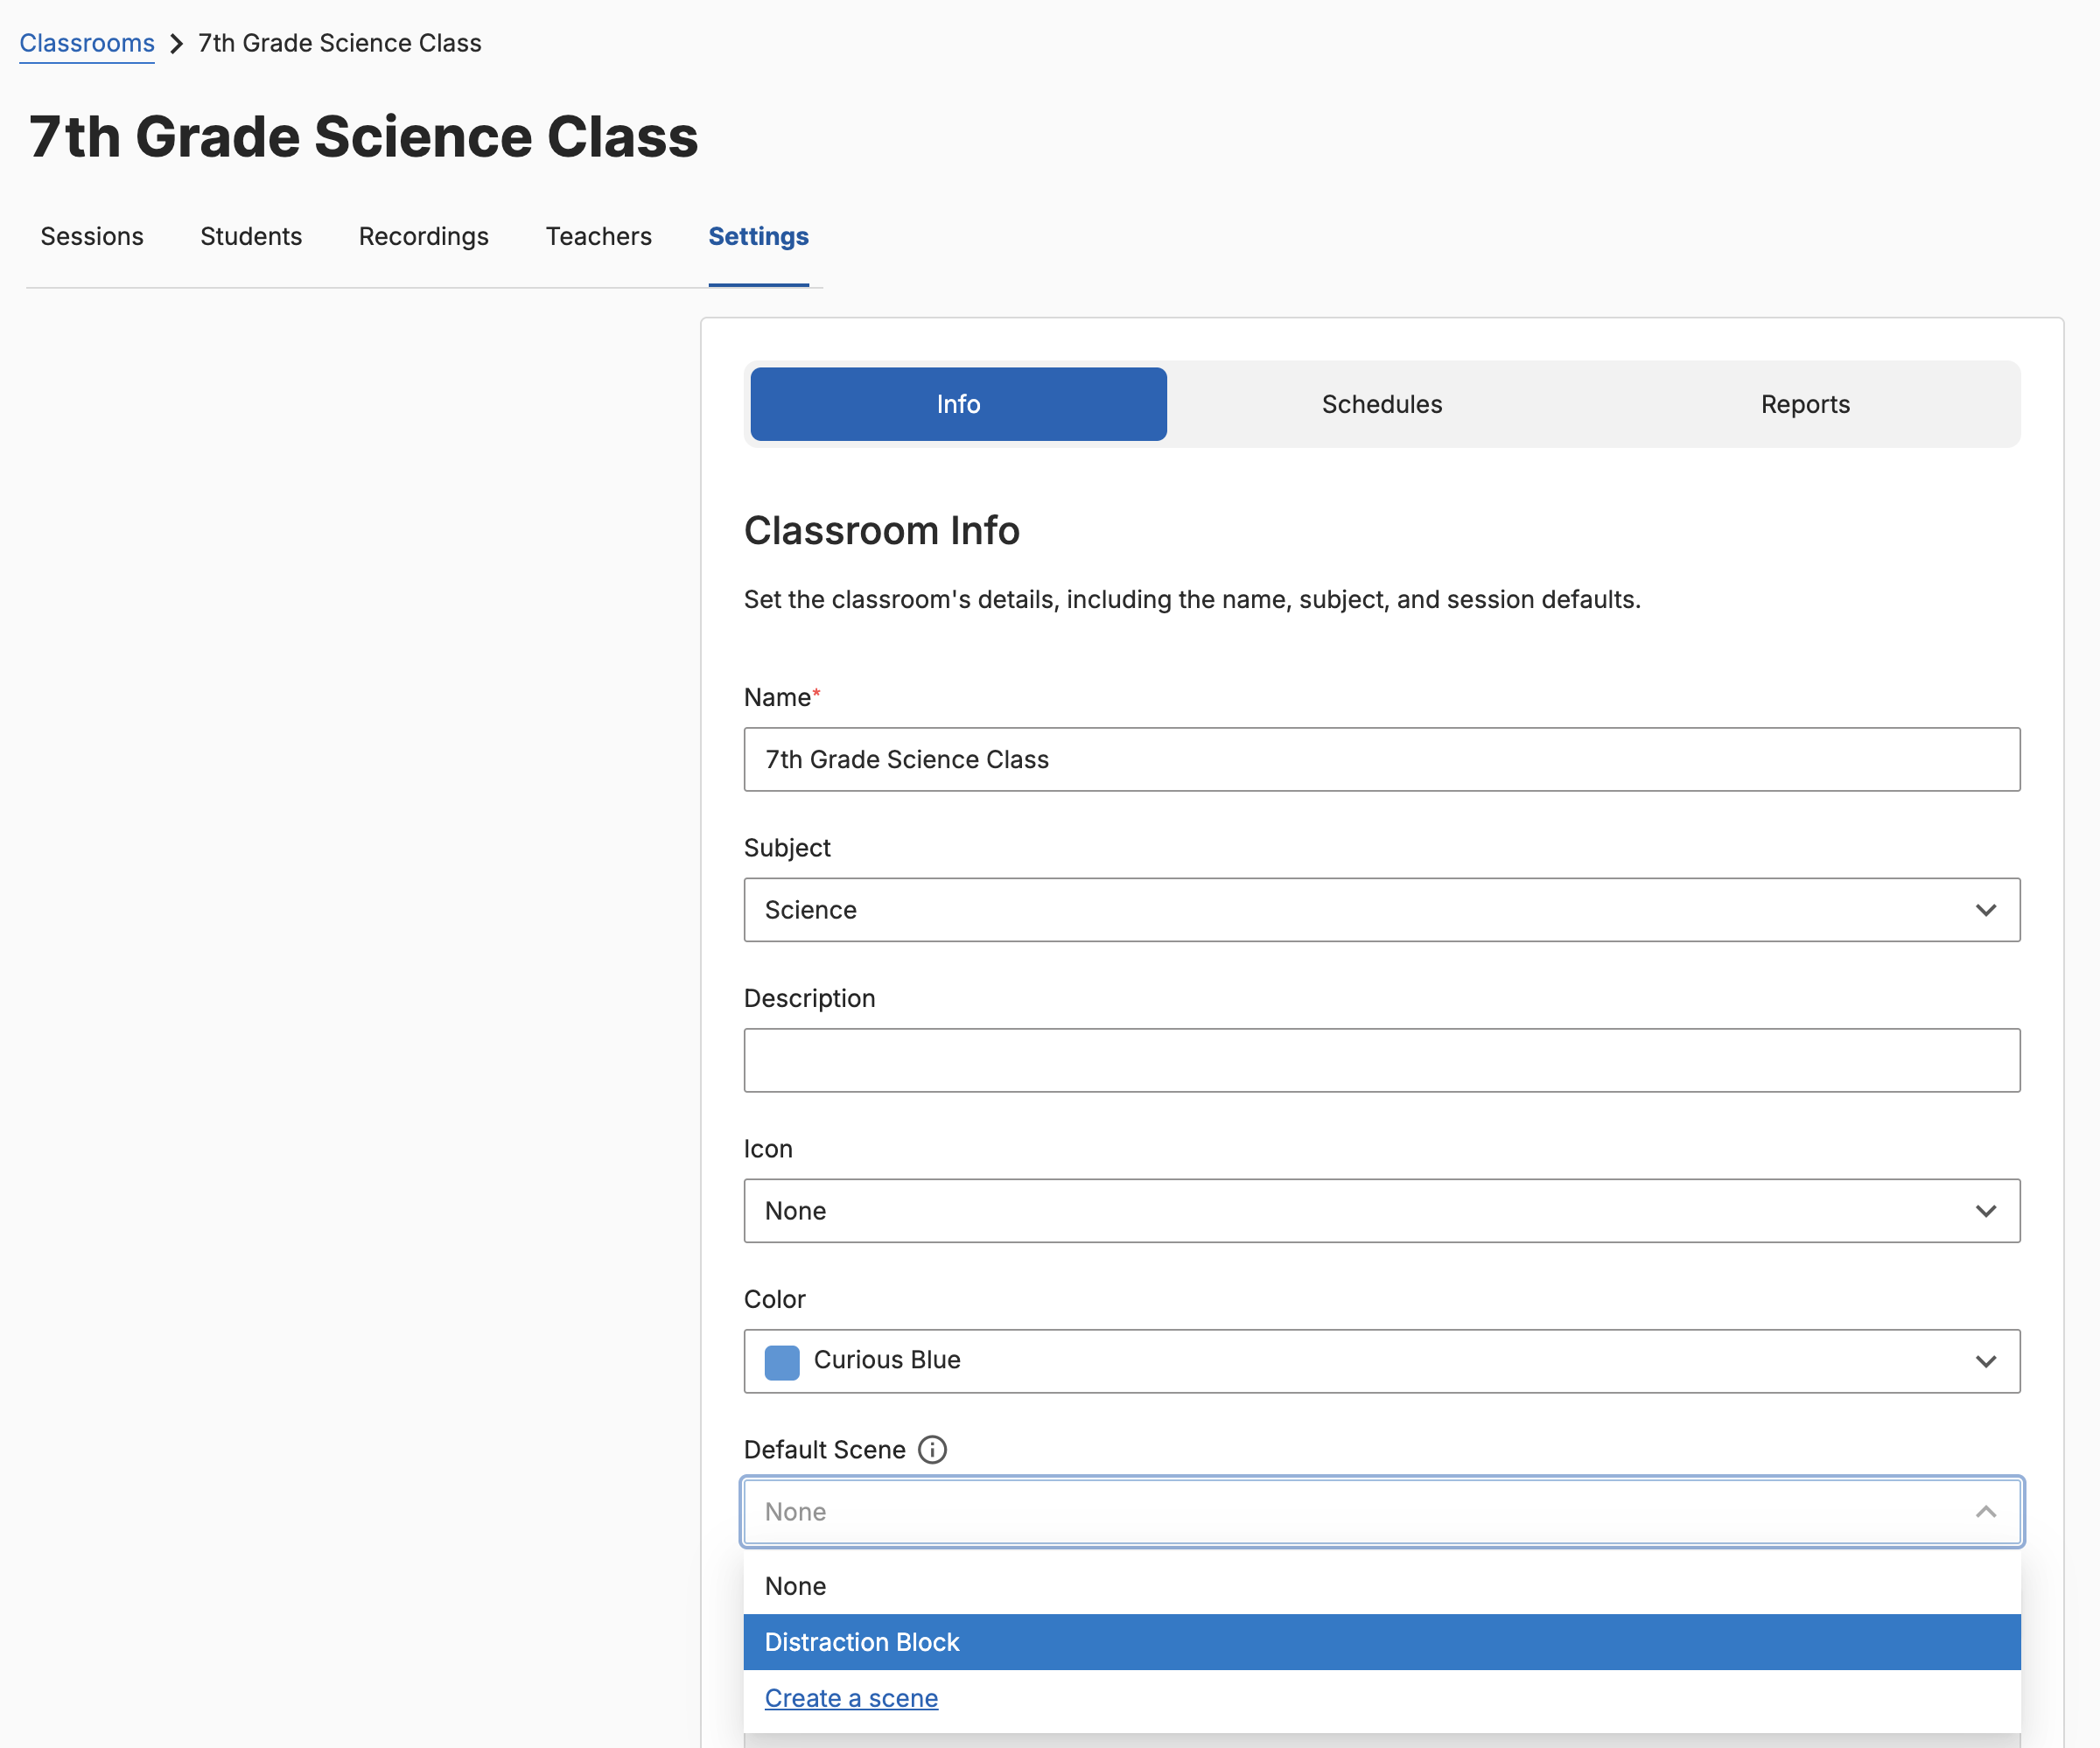
Find the Default Scene section.
-
Select a Scene from the dropdown menu.
-
Click Update Classroom.
Tip: For teachers using automatically scheduled classes, set a reminder to archive your classroom at the end of the school or remove the Default Scene. Automatically scheduled classes with a Default Scene attached can cause students to still be filtered after the class session ends.
Manually Apply Scene in Session
-
Go to an active GoGuardian Teacher classroom session.
-
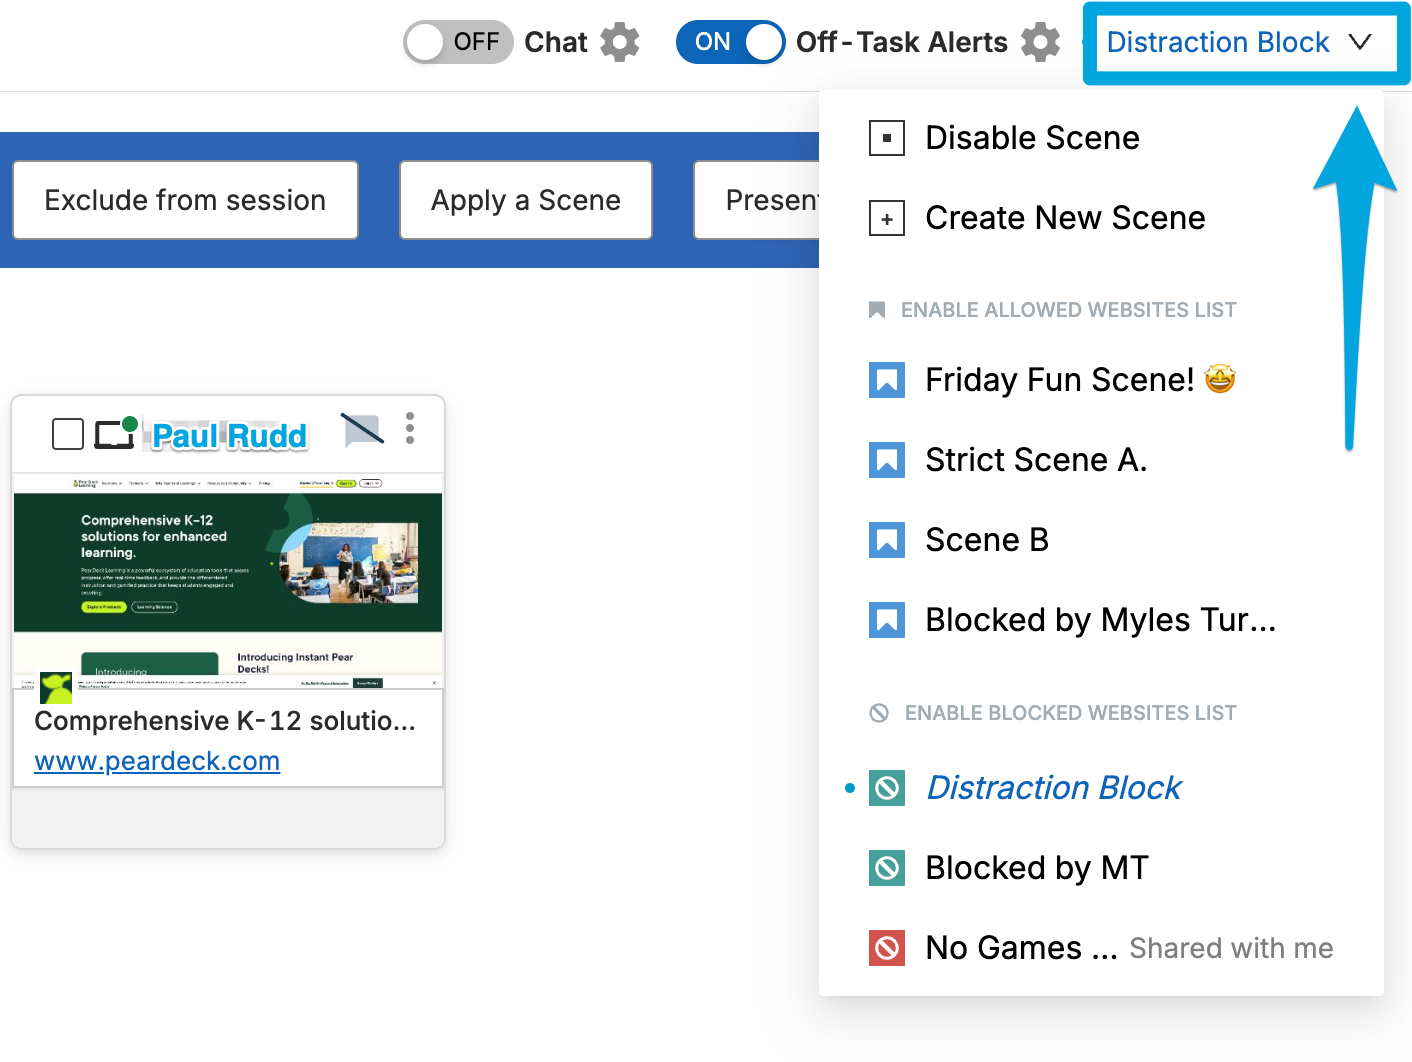
Click the Scene Applied dropdown menu in the toolbar. The currently applied Scene, if any, will always be listed at the top as seen in the following image
-
Select the Scene you want to use from the list.
-
Review the top of the menu to confirm which Scene is currently active.
Source: https://support.goguardian.com/s/article/How-to-Create-and-Apply-a-Scene-1630428661756

